
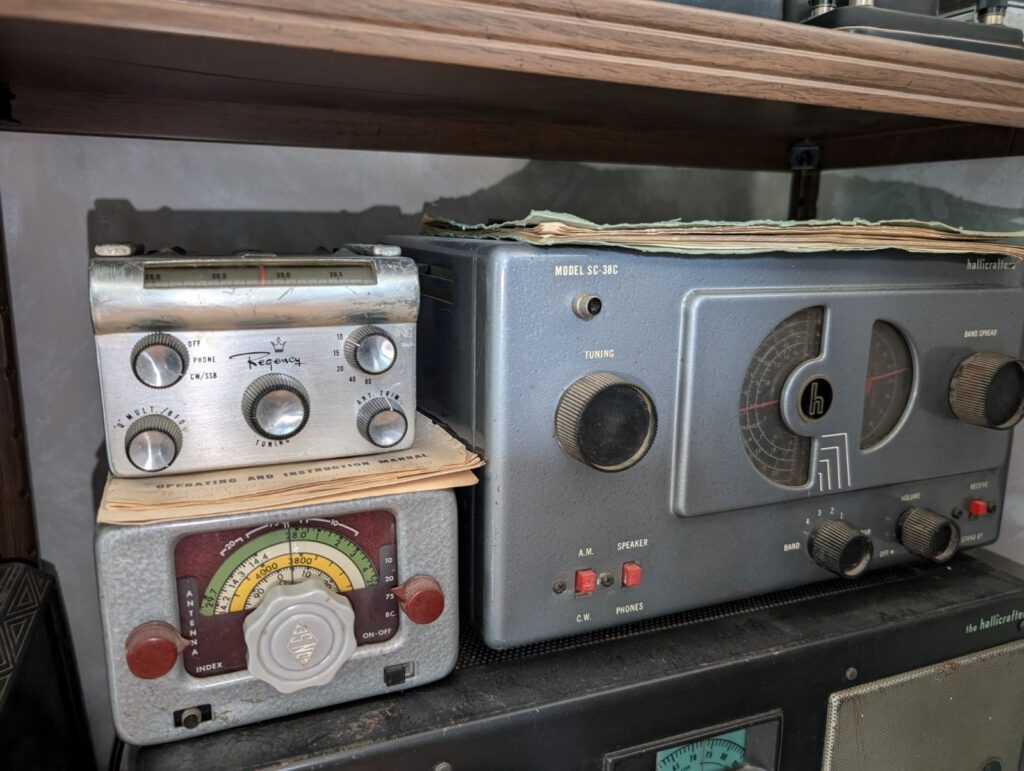
I recently attended a sale of equipment from the estate of a local ham, Sig Preuss, VE6SP. At the sale I picked up a Hallicrafters SC-38C that was in decent condition cosmetically and that was complete. No, that is not a typo in the model number. More on that later. It’s a very interesting story!
There was also an S-38 offered at the sale. I asked my XYL which one she preferred the looks of as it was my intent that this stylish little radio would go in the living room so we would have a radio on the main floor of our home to listen to the news on. She preferred the look of Hammertone finish on the SC-38C to the black of the S-38. So that’s the one that came home with us.
I eased the little Halli slowly back to life on my Variac and found that it did indeed work, which was a great start to the project! Naturally it had some problems, as could only be expected in a 70 year old radio. It was not very sensitive and the audio quality was poor.
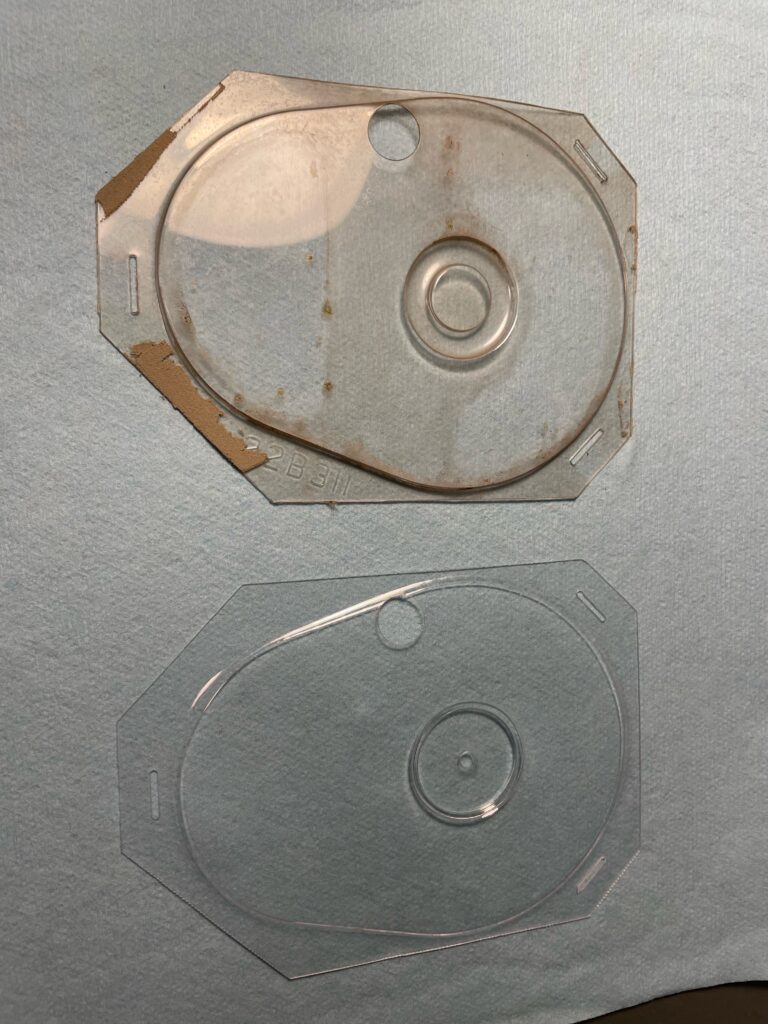
The case was not in bad shape. There was no damage to it, just some small scuffs and scratches here and there, nothing of significance. While not perfect it was certainly good enough. My XYL liked the patina and originality of the radio and didn’t feel that it should be re-finished. I agreed with her. The knobs were filthy but undamaged. The dial windows were dis-coloured and no longer clear. All things that were readily fixable.
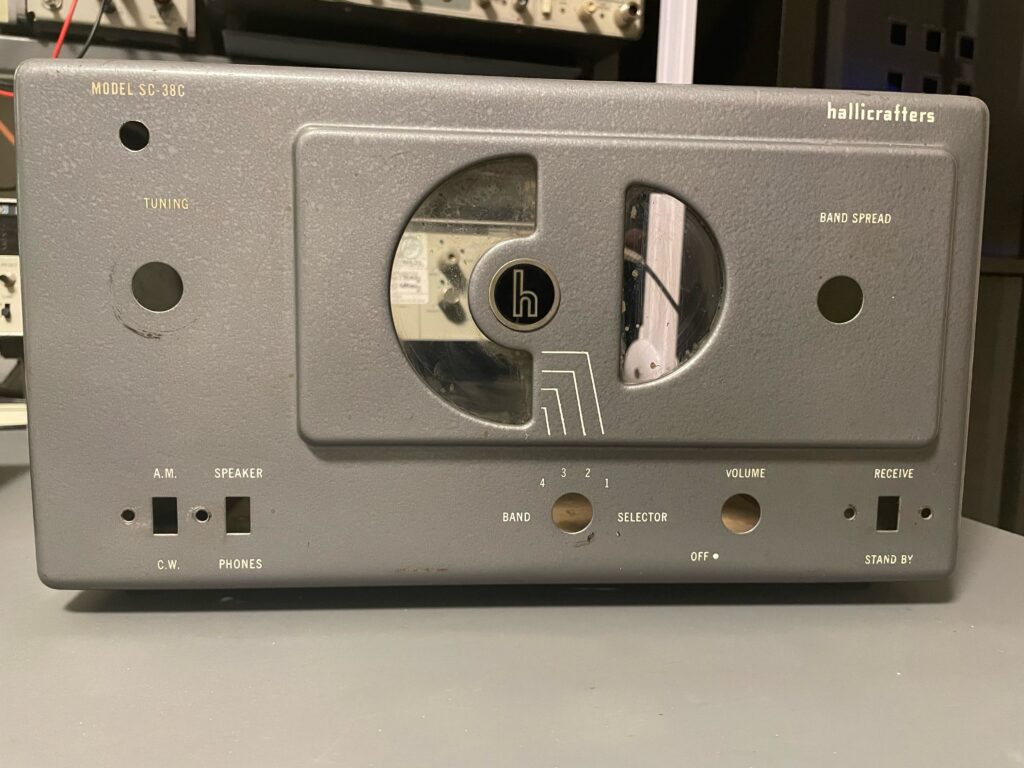
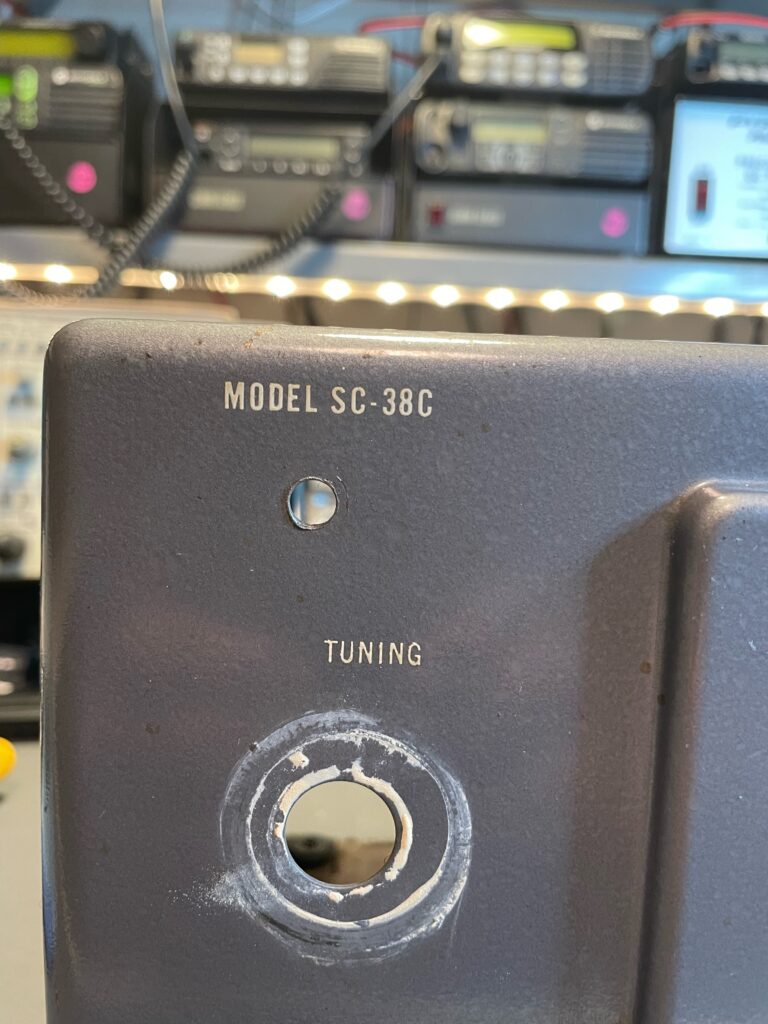
The worst thing, for me, was that a prior owner had drilled a 1/4″ hole in the front panel, below the model number, and installed an RCA jack which was wired to the headphone connector on the rear apron using #18 bell wire. That give a clue as to when it was done. Perhaps 1960’s or 1970’s? Something would have to be done about that and I had an idea. The good news was that whoever did it had chosen a good location and centered it under the model number. This turned out to be fortuitous.
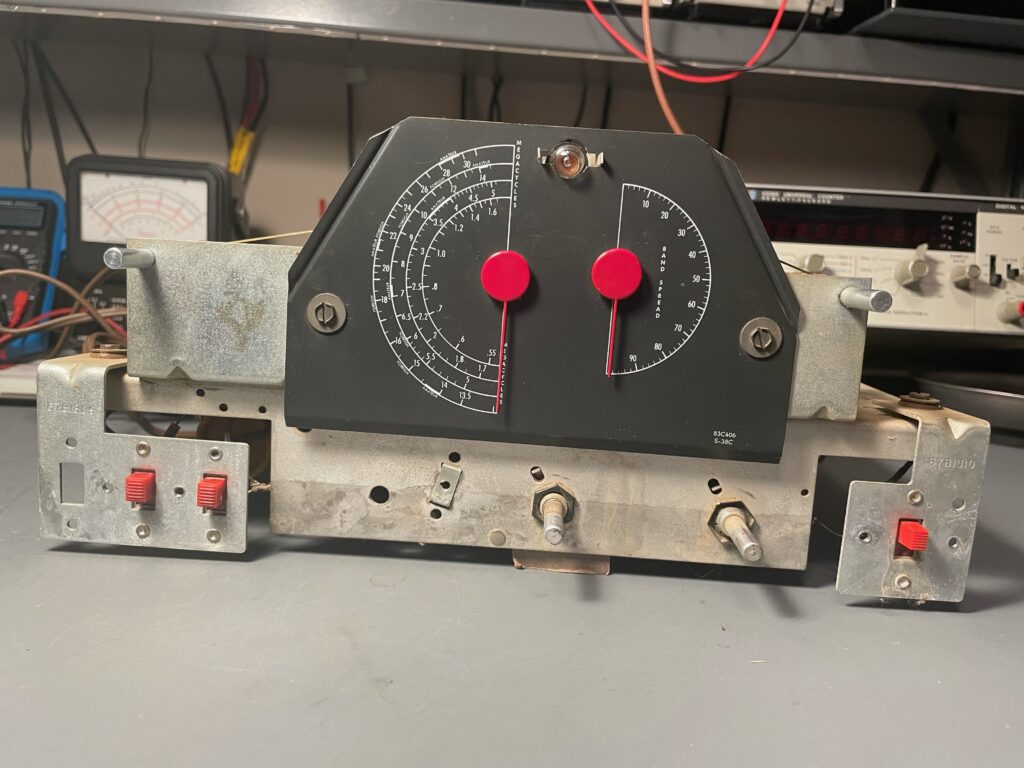
I pulled the knobs and set them soaking in hot, soapy water. The radio was taken out of the case for a full inspection. This revealed that one tube was the wrong type (12SH7 in place of 12SG7 IF amp), the chassis was naturally dirty including the plates of the main tuning cap, the dial lamp was out and all the original wax/paper capacitors were still in place, as was the multi-section electrolytic in the power supply. The main tuning dial cord was also broken.
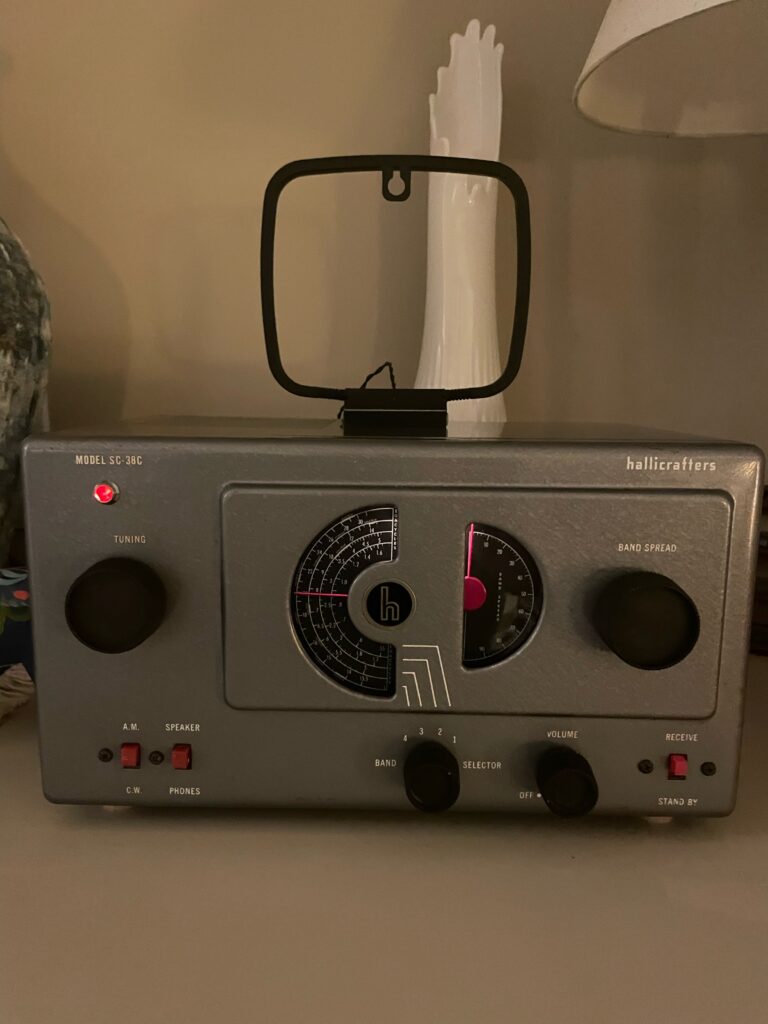
A fascinating detail that had gone unnoticed now came to light. The bottom cover had the usual Hallicrafters labels affixed to it. They were worn but perfectly legible. The main label, however, held a surprise. It said two things of interest. One, it said “the hallicrafters CANADA ltd” and the other was “MODEL SC-38C“. This radio was built in Canada and was given a model number that reflected that! Who knew? Certainly not I.
Also, on the top left corner of the front panel where it would normally say “S-38C” it said “SC-38C”. On the top right of the front panel it said just “hallicrafters” rather than “the hallicrafters co.” as US-made radios did.

This was a new and interesting facet of Hallicrafters history to me. Some searching revealed that Hallicrafters had opened a factory in Don Mills, ON in 1954. In 1955 they sold it. As the S-38C was made from 1953 to 1955 then my SC-38C was made in either 1954 or 1955. I can find no reference anywhere to the SC-38C but I did find references to the SC-40B and the SC-77A which were the Canadian variants of the S-40B and S-77A respectively. They would have also been built in the Hallicrafters Canada factory in Don Mills, ON. Interesting Canadian radio history, to be sure.
If you are reading this and you have any knowledge of Hallicrafters in Canada, their Canadian-made radios or anything related, please shoot me a message. My email is good at QRZ.com
The inspection being complete a plan was thus formed. I ordered a re-cap kit from Hayseed Hamfest http://hayseedhamfest.com and new dial windows from Retro Radio Repair http://dialcover.com. Tubes were tested and weak ones identifed. The 50L6 AF output amp was shot. The 12SG7 IF amp had the wrong tube in it’s socket, a 12SH7. The 12SQ7 AF amp/detector/AVC was weak as was the 12SA7 converter. Only the 35Z5 half-wave rectifier was healthy.
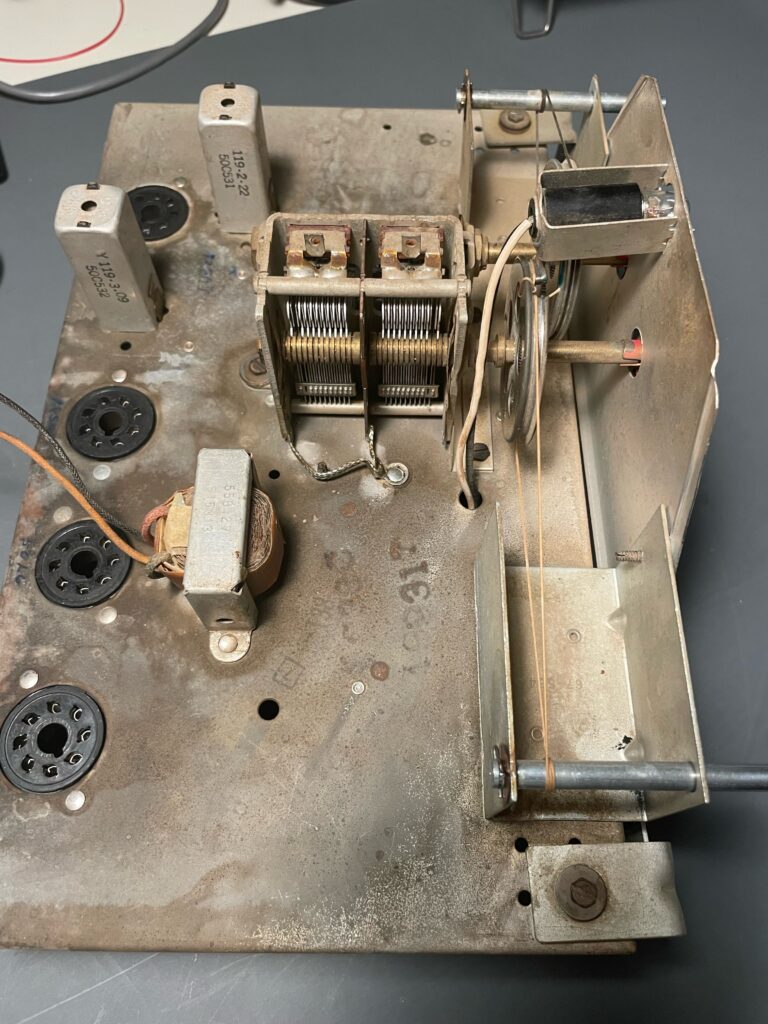
Good tubes were sourced (thanks to my pal Neil, VE6TCK/VE6JW) and while I waited for the caps and dial windows to arrive I started the cleanup. The main tuning cap plates were very dusty so those were cleaned. A basic chassis cleaning was done. The dial cord was re-strung, a mercifully simple path on this little radio! Thanks again to Neil who provided a length of the right dial cord. The lone dial lamp was replaced (#47). The knobs were pulled from their soapy bath and given a good scrubbing with a nylon brush and put back into another hot, soapy bath for round two. They were not quite clean enough yet.
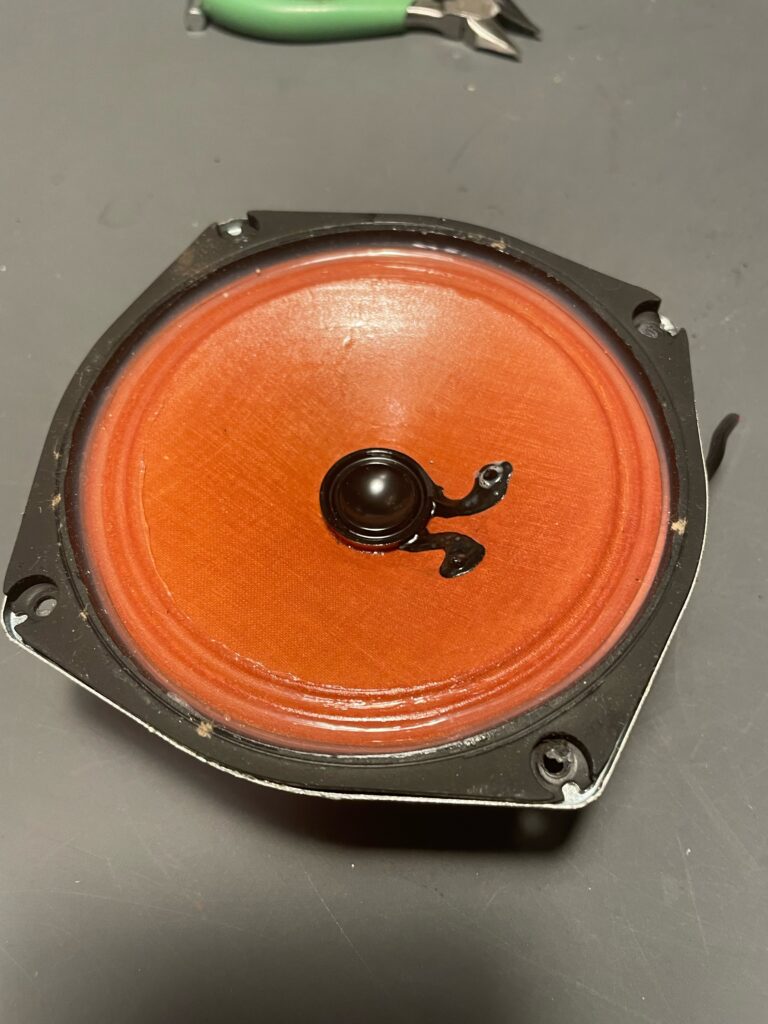
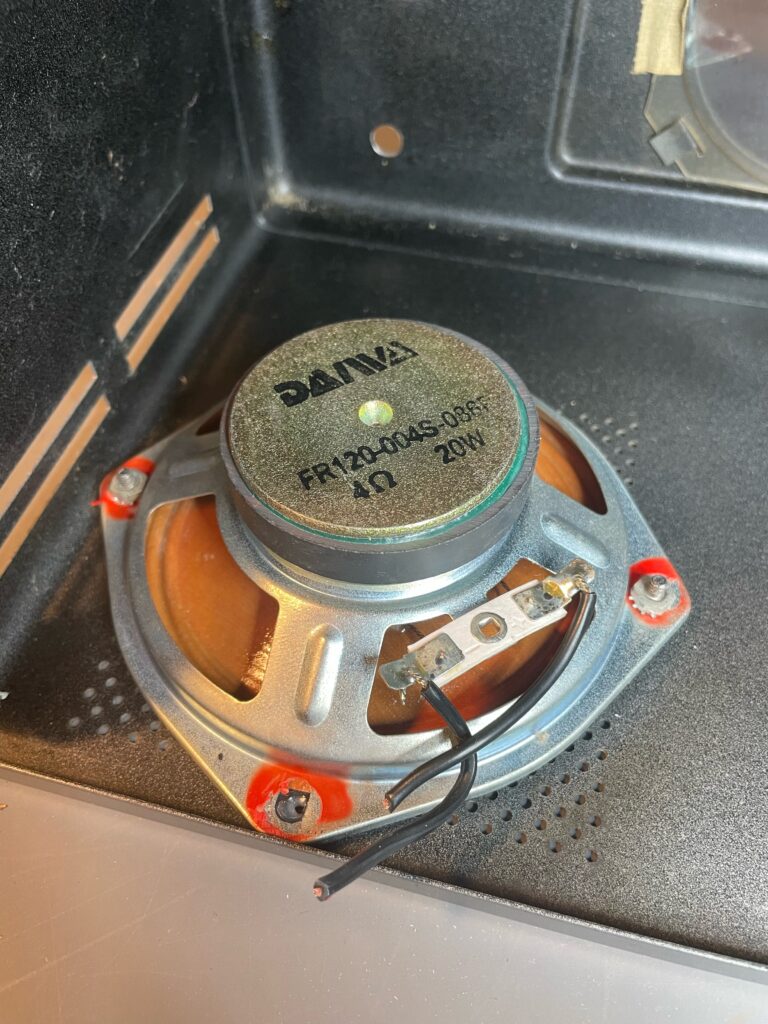
Next the old dial windows and speaker were removed and the case was cleaned inside and out. The original speaker had to go. The problem there was that the spacing of the mounting studs was not compatible with anything I could find off the shelf. After some days spent searching for a compatible speaker, and half in desperation, I disassembled a Harris mobile speaker I had as it looked like it might be close. And it was!
The stud spacing was tight but it fit. All that was needed was to tweak one of the corners of the speaker with my Klein Grips so that it didn’t interfere with the top lip of the case. The Harris speaker was even the right impedance. Hallicrafters specified a 3.2 ohm speaker and this one was 4 ohms. I’d always like the sound of these speakers with my VHF/UHF mobile radios so I knew it would sound good in the little Halli.
Now I needed to do something about the 1/4″ hole in the front panel. My pal Neil came to the rescue, yet again, with a vintage 5/16″ neon panel lamp that absolutely looked the part for a radio of this vintage. It had a nice red lens and all I had to do was enlarge the 1/4″ hole to 5/16″ to install it. This was a good thing anyway because whoever drilled the 1/4″ hole left a bunch of burrs on the inside of the case. Sloppy work, that.
The dial windows and capacitor kit arrived so now it was time for the electronics work. The dial windows were a perfect fit and reasonably priced, too. And what a difference they made to the appearance of the little radio! Next up was the capacitors. I always do the power supply electrolytics first and then fire the radio up and see how it is.
There were then six paper/wax caps to replace so I did two at a time and fired the radio up between rounds to ensure I hadn’t make any mistakes and to see what improvement there was. The big improvement, to my ear, came from the capacitor that coupled the detector to the AF amp. It was likely leaking some of the B+ from the detector anode into the grid of the AF amp.

Once all the capacitors were in place I considered the state of the three slide switches. Those things were cheap when they were new and they never age well. As I was never going to change them from their default positions I hard-wired them into that state. I didn’t want any high-resistance connections in those parts of the circuit. I also installed a polarized two-wire power plug. As this radio has no power transformer one side of the line is connected to the chassis at all times. I made sure that was the neutral side.
Now it was time for the alignment. For this I use my trusted HP 8657A signal generator as the signal source and my Simpson 260 VOM to measure the output. An analog meter is the only way to go when peaking levels.
It’s a very simple radio and the alignment procedure reflects that. When I align a radio I always do it twice. Once to become familiar with the process and once more to get it just right. Amazingly, the dial calibration was very close from the start. The signals did peak up very nicely as I went through the alignment. Octal tubes don’t do well above 20 MHz and the SC-38C is pretty deaf on the high band, as expected.
I put the chassis back in the case, installed the knobs, wired up the speaker and new old power indicator and hooked up a loop antenna I had from an old stereo receiver we had. Unlike other five tube sets the little Halli has no internal antenna. The final bench test after re-assembly was a success.
Once in it’s new home in the alcove above our fireplace the little radio looked good and sounded even better. The power indicator that shouldn’t be there actually looks like it belongs there with its’ soft red glow. The #47 dial lamp is dim, as they are, and the whole package just looks “right’. I am very pleased with how it came out and I couldn’t have done it without the help of my pal Neil.
I chose the S-38 series specifically because they are small and very stylish. These were the first radios that famed industrial designer Raymond Loewy designed for Hallicrafters. He went on to do more work for The Hallicrafters Co. They are a very simple design and work amazingly well for what they are. There is beauty in simplicity.
Using the little loop antenna here in the North Saskatchewan River valley in central Edmonton the local AM BCB stations are loud and clear and you can tell that the AVC is working well: 580 CHAH, 630 CHED, 740 CBX, 880 CHQT and 930 CJCA.
840 CFCW in Camrose is not as strong as the local stations but it is clear. 1440 CKJR in Wetaskiwin, which is 10kW compared to 50kW for all the others, is weak and noisy but can be received. That was during the daytime.
I am looking forward to hear what winter nights bring!